Blog cover
Brand PostPaid Post
Paid partnership with Playwright Premium Shop
Aisha sponsored collaboration
<strong>Collaboration brief:</strong> We would like Aisha to create a sponsored community post for Playwright Premium Shop.
Most viewed posts shown first.
Paid partnership with Playwright Premium Shop
<strong>Collaboration brief:</strong> We would like Aisha to create a sponsored community post for Playwright Premium Shop.
Paid partnership with Playwright Premium Shop
Sponsored creator post verification for the current localhost build.

A mental health service offering faith-aligned counselling, courses, and support circles.

A halal travel planning agency offering group trips, travel kits, and destination guides.

A halal nutrition and wellness coaching service.

A women-only photography studio offering portraits, bridal shoots, and print sales.

A prophetic wellness center offering hijama, cupping, and natural therapies.

A monthly halal food subscription box featuring global flavors.

A coaching platform for Muslim entrepreneurs offering courses, networking, and mentorship.

A halal home-cleaning service and eco-product line.

A premium boutique offering elegant modest clothing for modern Muslim women.
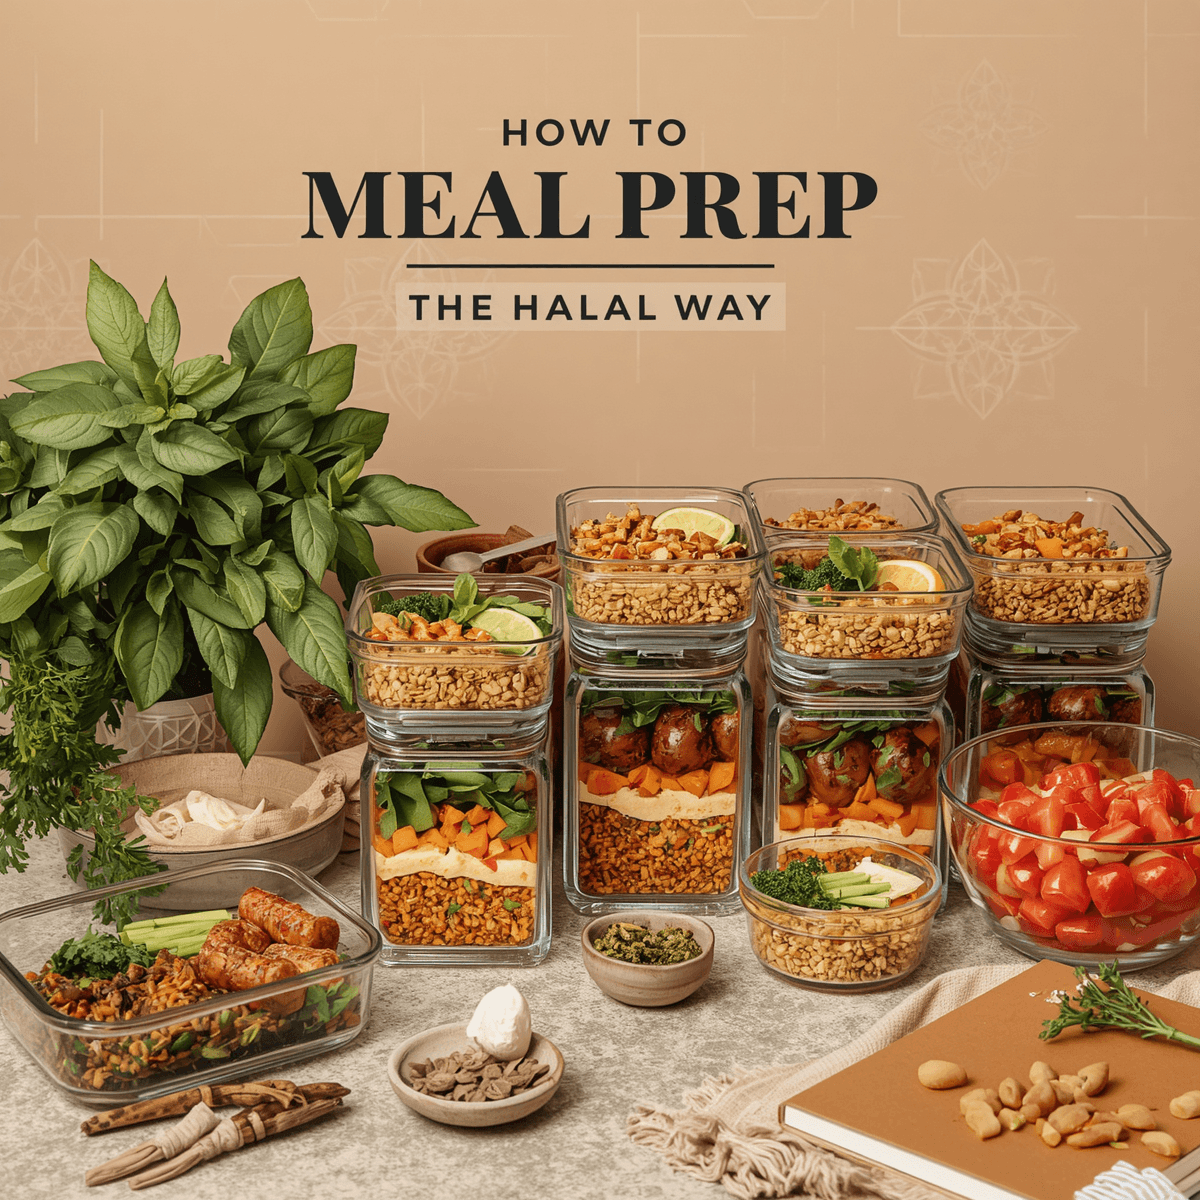
Organic halal meal-prep delivery offering weekly boxes and nutrition plans.

You don’t need complex analytics to grow. Track weekly: - Profile views - Clicks to book/buy - Orders or booking count - Conversion rate (rough) Run one experiment per week (new offer, better images, clearer tagline).

Day 1: Define your offer Day 2: Write a landing page Day 3: Create one lead magnet Day 4: Publish + share in 3 places Day 5: DM 10 people with a real, helpful message Day 6: Improve based on feedback Day 7: Run one experiment and track metrics